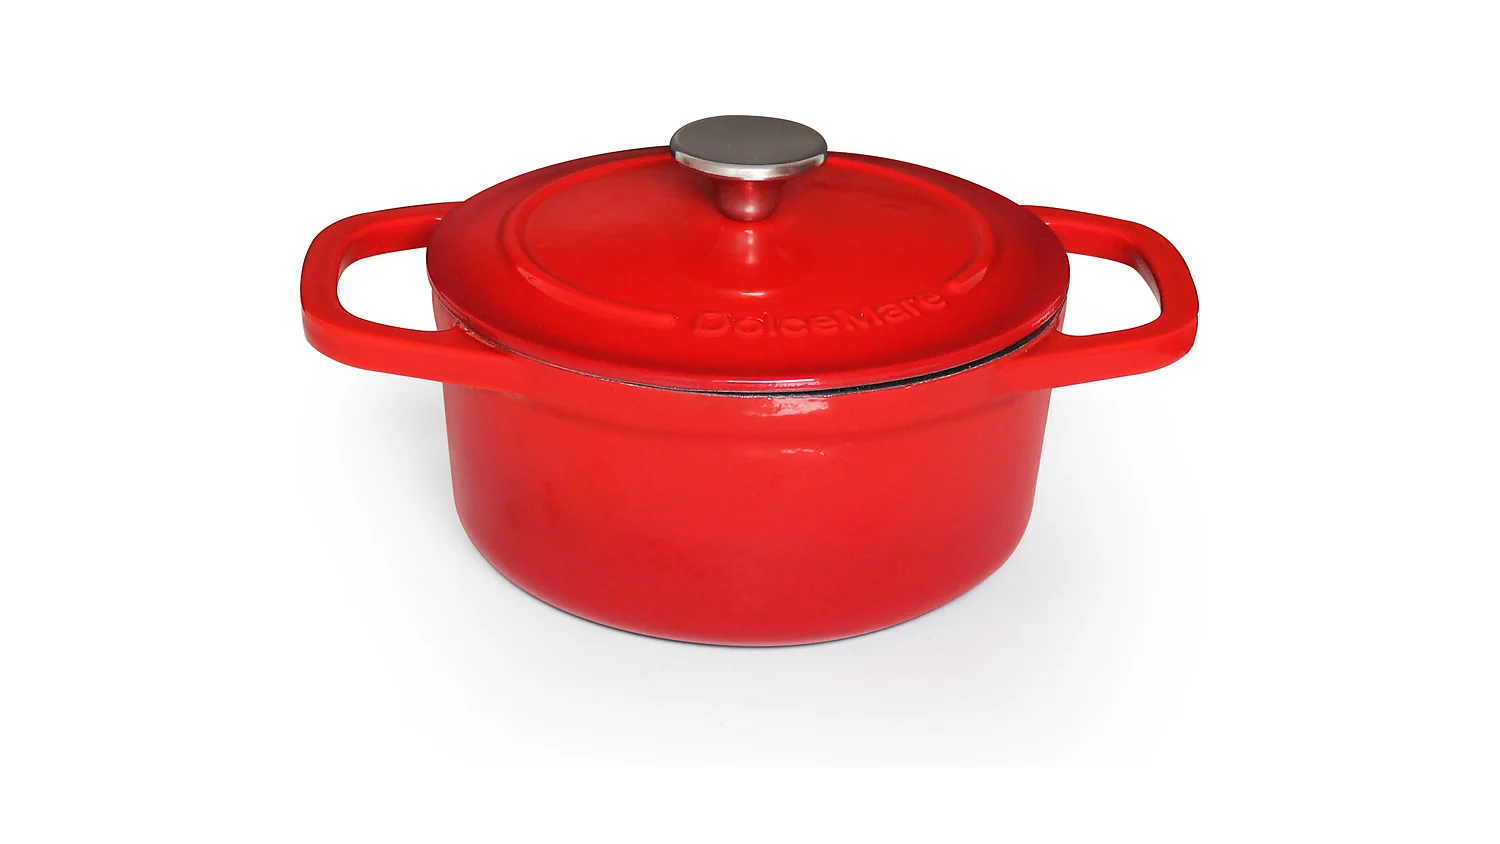
Design starts with the customer
To design your own Dutch oven, start with the customer and channel, then define shape, capacity, color, lid, knob, logo, packaging, and sample approval process. Use existing molds for faster launch and custom molds only when differentiation justifies the cost and timeline.
Start with use case
Decide whether the product is for daily cooking, gifting, premium retail, DTC, or specialty collections. This affects size, weight, color, and packaging.
Choose shape and size
Round Dutch ovens are broad and familiar. Oval Dutch ovens can support roasting and specialty positioning. Capacity affects cost and freight.
Select color direction
Color is central to enameled Dutch oven branding. Use physical references and approve samples before mass production.
Lid, knob, and handle
Small details change product feel. Confirm knob material, lid fit, handle size, and comfort.
Packaging design
Packaging should match price positioning and protect a heavy product. Include barcode, care instructions, and carton marks.
Design decisions buyers should not skip
The most important design choices are not always the most visible. Weight, handle clearance, lid fit, knob comfort, and packaging dimensions affect customer satisfaction and freight cost. A beautiful color cannot solve a product that is too heavy for the target user or too large for the sales channel.
For a first private label Dutch oven, the safest route is usually an existing mold with custom enamel color, brand packaging, inserts, and carton marks. This gives the brand a distinct identity without creating the full risk of new tooling. Custom molds make sense when the shape is central to the brand or when a retailer requires exclusivity.
RFQ package for custom design
Prepare size, capacity, target weight, color reference, lid and knob direction, logo plan, packaging style, quantity, market, and expected launch date. If you have competitor examples, explain what you like and what you want to avoid. This helps the manufacturer understand design intent without copying blindly.
Dutch oven design takeaway
To design a custom Dutch oven, define the customer, capacity, shape, enamel color, lid, knob, handle, logo, packaging, sample approval, and mold strategy. Existing molds with custom color and packaging are usually best for a first launch.
Approve the design in stages
Start with a one-page product brief. Include the target user, price band, capacity, competitor references, preferred color, packaging level, and launch channel. Then ask the supplier which parts can use existing molds and which parts require development.
Approve the product in stages: shape first, then color and finish, then packaging and labels. This keeps the project organized and helps both sides understand what has already been locked.
Related custom design guides
Review custom enamel colors, Dutch oven product page, and OEM service.
Final recommendation on custom Dutch ovens
Design around the customer first. The best Dutch oven design is not the most complex one; it is the one your brand can sell, ship, and repeat reliably.
Need a factory quote?
Share your cookware project details
Send your target product, quantity, color, packaging, and market requirements. The Sancong Eco Enamel team will review the project and reply by email.